Assignment 2 - Email App Notifications
- Worth: 5%
- 📅 Due: May 16, in class.
- 🕑 Late Submissions: Deductions for late submissions is 10%/day. To a maximum of 3 days. A a grade of 0% will be given after 3 days.
- 📥Submission: Submit through GitHub classroom.
This Assignment, will be completed in class as the last lab of the course. We will complete some of the functionality of the MauiEmail app.
Objectives:
- Create a Mail Service which connect with a mailing server
- Download emails and send emails asynchronously by using
MailKit - Subscribe to a server-side event (new email received)
- Send push notifications by using
Plugin.LocalNotification
Setup
- Accept the assignment and clone the repo:
- For this assignment you may re-use your Assignment 1 code or use the starer code found here.
- Create a dummy email address on outlook:
- Go to Microsoft Outlook website
- Click Create free account
- Create a new email address
- Create a new password that you can easily remember
- Fill in the first name, last name (you can enter something like Mail Kit Test or something along this)
- Once logged in to your new email account:
- Select Settings> Mail> Sync email.
- Under POP and IMAP> Let other devices and apps use POP > make sure the toggle is on.
- Make sure this option is checked: Let apps and devices delete messages from Outlook
MailKit
MailKit developed by Jeffrey Stedfast and is a cross-platform mail client library which uses MimeKit. It offers authentication functionality as well as emailing functionality using POP3 protocol, Imap and Smtp. It is relatively easy to use for emailing.
-
In visual studio, right-click your project
-
Click Manage Nuget Packages
-
Browse NuGet Packages
-
Browse NuGet Packages
-
Search for: MailKit
-
Install version: 4.3.0
-
Create a folder called
Config -
Add a static class called
MailConfig -
Add the following using:
using MailKit.Security; -
Add the following public properties and set their values which are based on Outlook’s settings:
Email: the email address you just created (string)Password: the password you just created (string)ImapHost: “outlook.office365.com” (string)ImapPort: 993 (int)ImapSocket:SecureSocketOptions.SslOnConnect(part ofMailKit.Security)SmtpHost: “smtp-mail.outlook.com” (string)SmtpPort: **587 **(int)SmtpSocket:SecureSocketOptions.StartTls(part ofMailKit.Security)
Modification of the Email model
-
Since the mail kit uses MimeMessage we need a way to convert them into our
Emailmodel. -
Add a string property
Idto theEmailmodel:public string Id { get; set; } -
In your
Emailmodel add another constructor which takes aMimeMessageand aMailKit.UniqueIdas parameter:using MimeKit;// Add the following using namespace MauiEmail.Models { public class Email : INotifyPropertyChanged { // ...your Email model from Assignment 1 public Email(MimeMessage mimeMessage, MailKit.UniqueId uniqueId) { this.Id = uniqueId.ToString(); this.Date = mimeMessage.Date.DateTime; this.Subject = mimeMessage.Subject; this.Body = mimeMessage.HtmlBody; this.SenderAddress = new MailAddress(mimeMessage.From.ToArray()[0].ToString()); this.RecipientAddress = new List<MailAddress>(); // converting the InternetAddressesList to List of MailAddress mimeMessage.To.ToList().ForEach( x => this.RecipientAddress.Add(new MailAddress(x.ToString()))); } -
Add a public method
ToMime():public MimeMessage ToMime() { var message = new MimeMessage(); message.From.Add(new MailboxAddress(SenderAddress.DisplayName, SenderAddress.Address.ToString())); foreach (var recipient in RecipientAddress) { message.To.Add(new MailboxAddress(recipient.DisplayName, recipient.Address.ToString())); } message.Subject = Subject; message.Body = new TextPart("plain") { Text = Body }; return message; }
MailService
-
Create a
Servicesfolder -
Create a class called
MailServiceand add the following usings:using MailKit; using MailKit.Net.Imap; using MailKit.Net.Smtp; -
Which contain the following private fields:
ImapClient imapClient: This is a private instance of theImapClientwhich uses the imap protocol to retrieve emailsSmtpClient smtpClient: This is a private instance of theSmtpClientwhich uses the imap protocol to retrieve emails
-
Create an instance of each client (either in the constructor or directly in the class).
-
Create the following method which will connect and authenticate the Imap client: read this example to see how the client is authenticated synchronously.
/// <summary>
/// Method which connects imapClient if is is not already connected, and authenticates
/// it if it's not already authenticated.
/// </summary>
public async Task StartImapAsync()
{
    imapClient.ServerCertificateValidationCallback = (s, c, h, e) => true;
    /// Perform connect and authenticate...
}
Notes:
- Call the
ServerCertificateValidationCallback = (...)method before the connection to ensure that the server certificate validation is not checked, otherwise this might fail. - There are async equivalents for each method
ConnectAsync(),AuthenticateAsync()
- Call the
-
Create the following method which will connect and authenticate the Smtp client: read this example from MailKit.
/// <summary> /// Method which connects smtpClient if is is not already connected, and authenticates /// it if it's not already authenticated. /// </summary> public async Task StartSmtpAsync() { // To be completed... smtp.ServerCertificateValidationCallback = (s, c, h, e) => true; } -
Create the following method, and a
try-catchto catch any exception. Returntrueif successful andfalseif not.Note: To send an email, only the
Smtpprotocol is used./// <summary> /// starts the Smtp client, then sends an email asynchronously, and disconnects the client. /// </summary> /// <param name="email">Email to be sent</param> /// <returns>Task with boolean result for success of the operation</returns> public async Task<bool> SendMessageAsync(Email email) { try { await StartSmtpAsync(); //... -
Create a static instance of the
MailServicein theApp.xaml.cs(similar to theEmailsRepo). -
To test the method, go to the
WritePage.xaml.csand modify the send button event handler to include this line:await App.MailService.SendMessageAsync(EditEmail); -
Test the operation of sending an email by sending an email to another inbox.
-
Updated instructions: You may run into authentication issues at this point:
-
Make sure this line is added before you attempt the connection, this will bypass the certificate verification step:
smtp.ServerCertificateValidationCallback = (s, c, h, e) => true; -
Account is blocked on the first connection. You need to unblock it via the browser by logging into the Outlook account created earlier and following the steps to unlock it. For this you’ll need your phone number or a recovery email address.
-
Ensure that the
EditEmailhas the sameSenderAddressas the email account you created earlier. -
Some students ran into issues if the email was not all in lower case letters or if the
SenderAddresshas a name that does not correspond exactly to the one in Outlook.
-
-
Create the following method which connects the imap client, and downloads all the emails in the
Inbox. Use this example as reference. Call this method synchronously in theEmailsRepoas you are setting theEmails./// <summary> /// Connects the Imap client and downloads all the _emails in the inbox. /// </summary> /// <returns>List of downloaded _emails</returns> public async Task<List<Email>> GetEmailsAsync()Hint:
- Use
Task.Run(()=>SomeAsyncMethod()).Wait() - Updated instructions May 08 : The
SomeAsyncMethod()should haveTaskas return type notvoidotherwise it will not be awaited by theWait()
- Use
-
Test it out by sending a few emails to your newly created app.
Updated instructions May 08
-
As you open emails, you will most likely see the raw html text being displayed
-
To view the html properly replace the
Labelbinding to theBodywithin theReadPage.xamlwith aWebView:<ScrollView Padding="10,10" HeightRequest="500"> <WebView HeightRequest="450"> <WebView.Source> <HtmlWebViewSource Html="{Binding Body}"/> </WebView.Source> </WebView> </ScrollView> -
If you used my starter code, the
WebViewis already in theReadPage.xaml
-
-
Show me your progress for today.
Push Notifications
- Notifications may be triggered by a server or by a local event.
- In this app, we will send a push notification when a a local event is raised by the
MailServiceindicating that the count of emails changed. - This event will in reality be caused by a server event.
Setup - Local Push Notification
This package is only supported on Android and Windows
-
In visual studio, right-click your project
-
Click Manage Nuget Packages
-
Browse NuGet Packages
-
Search for Plugin.LocalNotification
-
Install the version: 10.1.8
-
Go to your
MauiProgram.cs -
Add the following line to your builder:
var builder = MauiApp.CreateBuilder();
builder
.UseMauiApp<App>()
.UseLocalNotification() // Add this line
//...
How to send local notifications
-
This package is functional for Android and iOS, but not for Windows.
-
For Android add the following permissions to your app manifest:
<!--Required so that the plugin can reschedule notifications upon a reboot--> <uses-permission android:name="android.permission.RECEIVE_BOOT_COMPLETED" /> <uses-permission android:name="android.permission.VIBRATE" /> <uses-permission android:name="android.permission.POST_NOTIFICATIONS" /> <!--Optional (only for Calendar and alarm clock apps)--> <uses-permission android:name="android.permission.USE_EXACT_ALARM" /> <uses-permission android:name="android.permission.SCHEDULE_EXACT_ALARM" /> -
Ensure that your app asks the user to give the app permissions to send push notifications:
// The step below is requred the first time to ask for permissions from the user to send push notifications:
if (await LocalNotificationCenter.Current.AreNotificationsEnabled() == false)
{
    await LocalNotificationCenter.Current.RequestNotificationPermission();
}
Important note: This must be done on the main thread of the application. We didn’t discuss multi-threading, but it’s possible if you are hooked to a server event, that the client will be running a background process to handle this. In other words, add those lines outside the event handler where the notification is sent: create a helper function and call it in the constructor of the
Inbox.xaml.cs. -
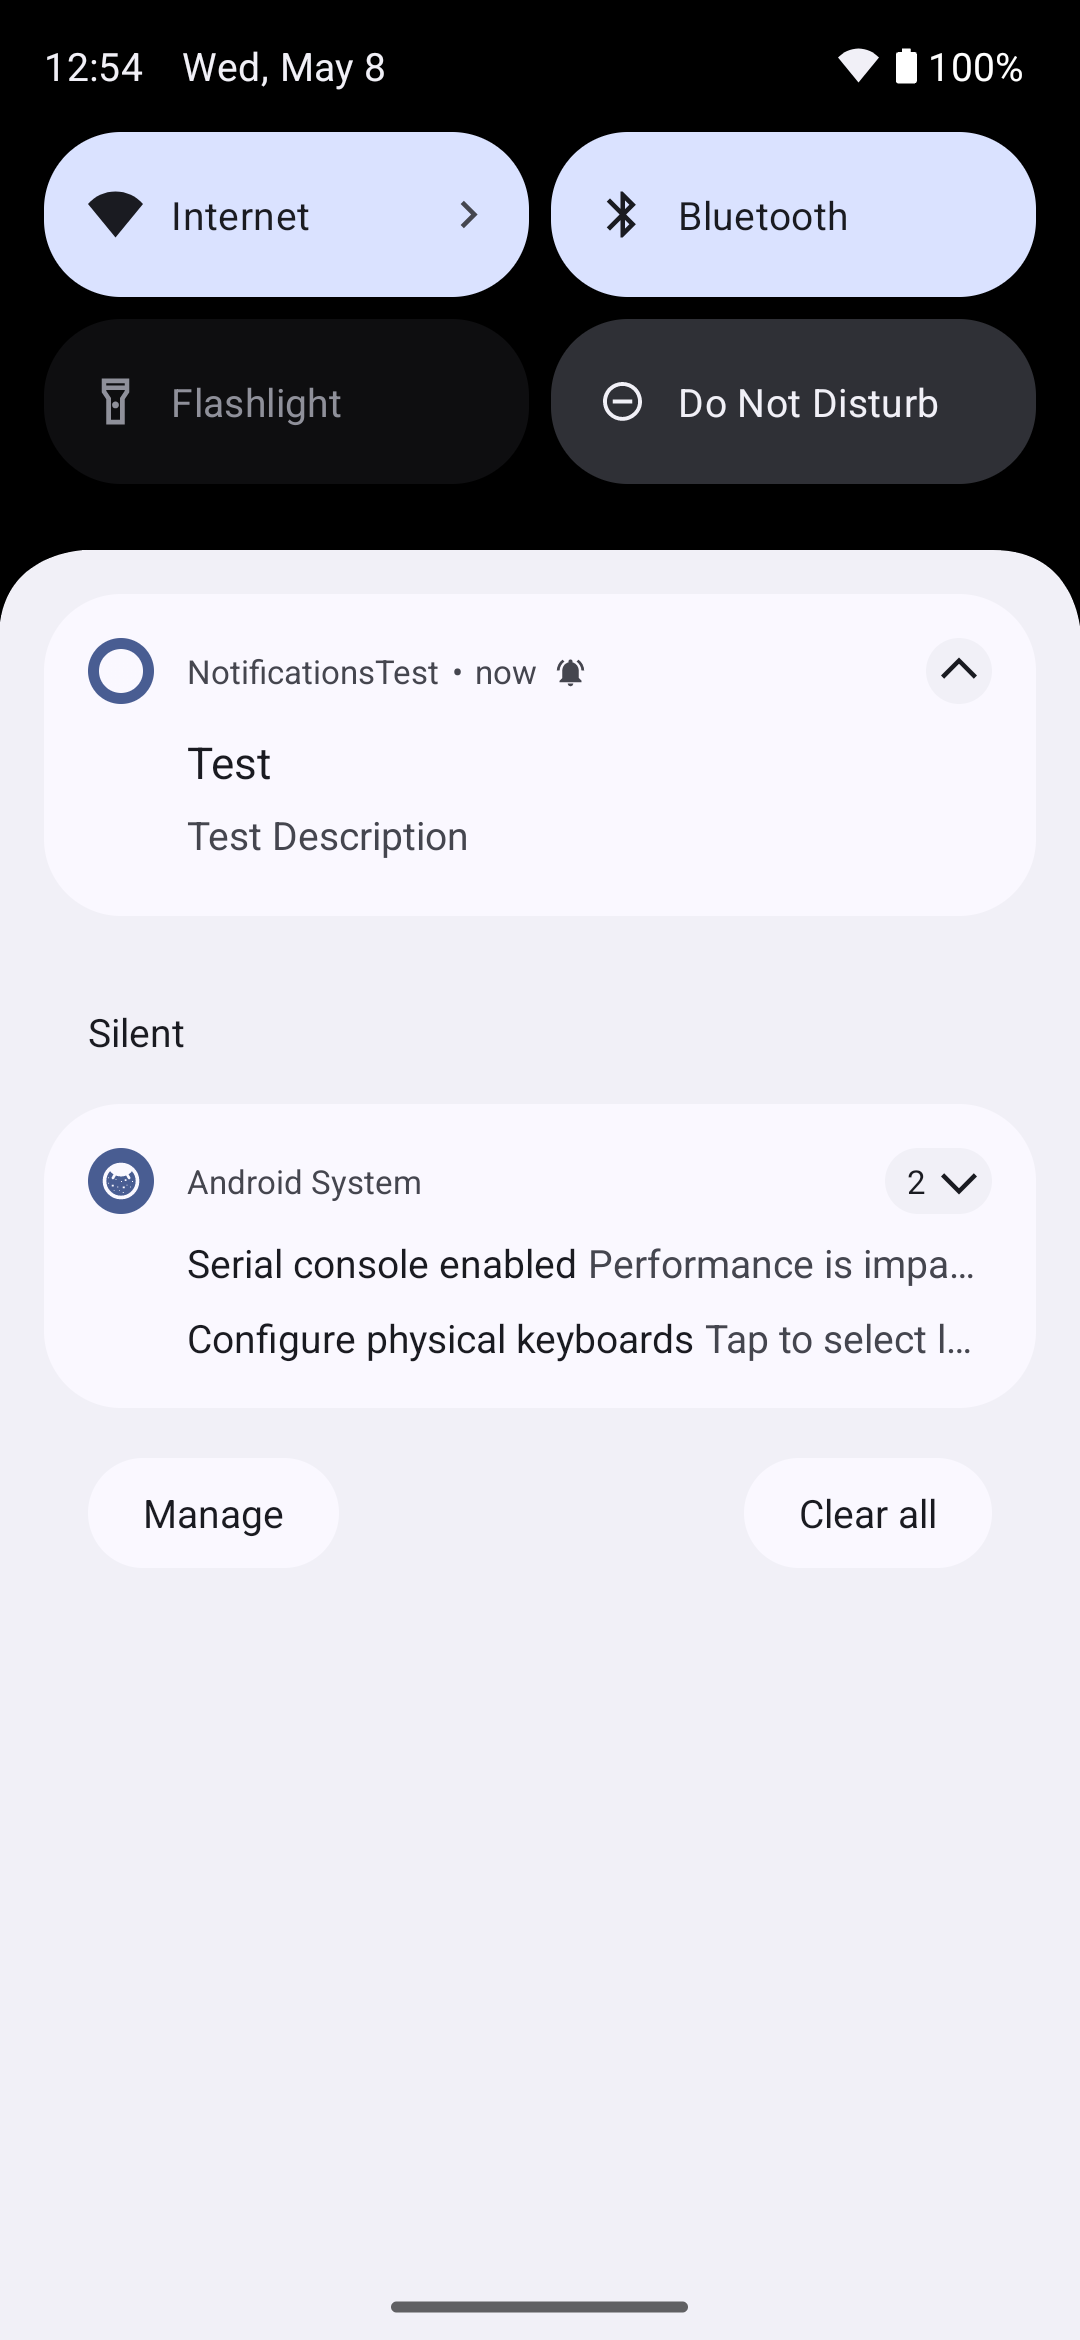
In the event handler of the local event, the following notification request can be created and sent through the
LocalNotificationCenter(Test it with any button in the app)var notification = new NotificationRequest { NotificationId = 100, Title = "Test", Description = "Test Description", ReturningData = "Dummy data", // Returning data when tapped on notification. Schedule = { NotifyTime = DateTime.Now.AddSeconds(10) // This is Used for Scheduling local notifications; if not specified, the notification will show immediately. } }; await LocalNotificationCenter.Current.Show(notification);Note: If you plan on using this for the project, I suggest you explore the various parameters that can be set inside a notification.
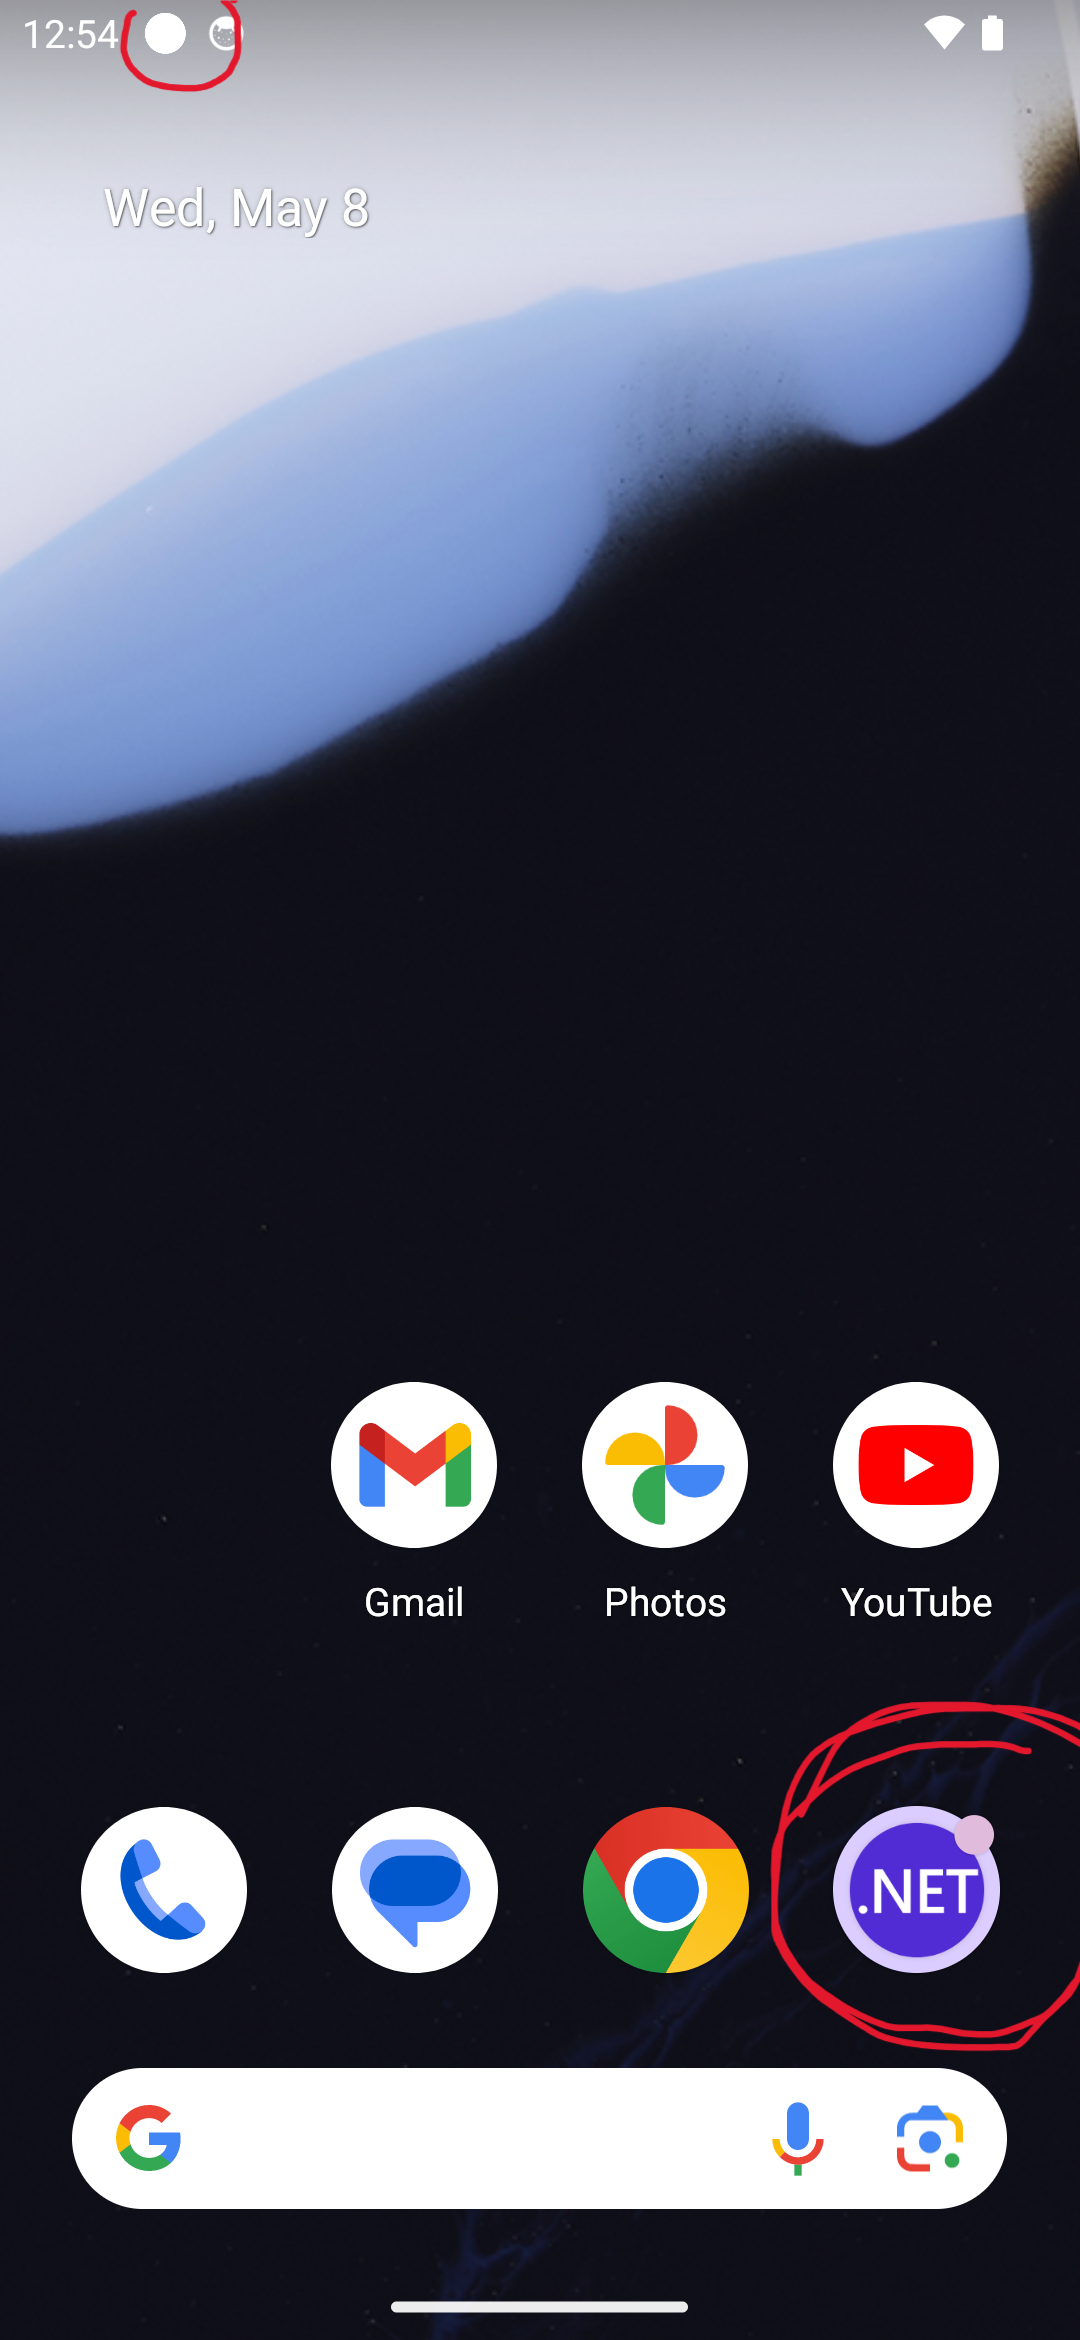
-
Once the notification is sent, a small dot will appear in the status bar and on the app itself:
New Message Received event
The remaining part of this assignment, will focus on receiving an event from the mail server and sending a new notifications every time a new email is received.
In you security course, you have learnt about the various emailing protocols such as pop3 and imap. Here are a few things to keep in mind when using Imap
- Unlike
Pop3,Imapis not storing the emails on the device, rather only accessing them and downloading them on demand. - When deleting, archiving, or marking as seen, there should be a real time update between the server and the client app.
- Hence why
Imapoffers theIdlefeature, which allows the client to indicate to the server that it is ready to accept real-time notifications. - The client will simply remain inactive while waiting for events from the server.
- Let’s try to set the
imapClientcreated earlier intoIdlemode and wait for incoming messages. Once a message is received, theMailServiceshould fire a local event more suitable for the purpose of our app: send a push notification.
Implementing “Idle” mode
MailKit has published an example on how to listen to incoming emails. Those 251 lines of code are complex, let’s slowly analyze them and re-use the parts that we truly need:
-
Add the following properties to the
MailService://Needed for monitoring bool messagesRecieved = false; int CurrentMessageCount; CancellationTokenSource cancel = new CancellationTokenSource(); CancellationTokenSource done; -
Add the following public event which will fire as we recieve new emails:
public event EventHandler NewMessagesArrived; -
Create a private async method called
WaitForNewMessages()(which comes directly from the example above). This methods sets theImapClientinidlemode and if the connection drops, simply restarts it again. Note that thedoneandCanceltokens can interrupt this process./// <summary> /// Waits asynchronously for new messages to arrive in the mailbox. This methods restarts the imapClient /// everytime the connection is dropped until the imap is set to idle mode and starts awaiting new messages. /// </summary> /// <returns></returns> async Task WaitForNewMessagesAsync() { do { try { if (imapClient.Capabilities.HasFlag(ImapCapabilities.Idle)) { // Note: IMAP servers are only supposed to drop the connection after 30 minutes, so normally // we'd IDLE for a max of, say, ~29 minutes... but GMail seems to drop idle connections after // about 10 minutes, so we'll only idle for 9 minutes. done = new CancellationTokenSource(new TimeSpan(0, 9, 0)); try { await imapClient.IdleAsync(done.Token, cancel.Token); } finally { done.Dispose(); done = null; } } else { // Note: we don't want to spam the IMAP server with NOOP commands, so lets wait a minute // between each NOOP command. await Task.Delay(new TimeSpan(0, 1, 0), cancel.Token); await imapClient.NoOpAsync(cancel.Token); } break; } catch (ImapProtocolException) { // protocol exceptions often result in the client getting disconnected await StartImapAsync(); } catch (IOException) { // I/O exceptions always result in the client getting disconnected await StartImapAsync(); } } while (true); //restart the process everytime }When in idle mode the
imapClient.Inbox.CountChangedevent will be raised by the server everytime a message is received, deleted or flagged.It might be tempting to raise the
NewNewMessagesArrivedas soon asCountChangedis triggered but this will not work if you decide later to download the new emails. This is due to the Imap client being busy in idle mode. This is caused by two separate threads trying to access the same resource. In addition, we need to be sure that the count of emails increased before saying that we’ve received an email. -
Add this
privateevent handler:-
This event handler will cancel the done command because, based on the documentation:
While the IDLE command is running, no other commands may be issued until the doneToken is cancelled.
void OnCountChanged(object sender, EventArgs e) { var inbox = (ImapFolder)sender; if (inbox.Count > CurrentMessageCount) //makes sure that a message was received { messagesRecieved = true; done?.Cancel(); //this is a very important step to interrupt the idle for a few seconds and fetched the incoming messages. } } -
-
Let’s create a public
asyncmethod which will be called by the classes using theMailServiceto Monitor the inbox:/// <summary> /// This method observes the inbox and ensures that any new message /// </summary> /// <returns></returns> public async Task MonitorInbox() { // TODO: Start the IMAP client // TODO: Open the Inbox in ReadOnly var inbox = ... CurrentMessageCount = inbox.Count; //Gets the current count, before idle inbox.CountChanged += OnCountChanged; do { try { await WaitForNewMessagesAsync(); // this will start the idle mode if (messagesRecieved) //we only get here if the idle was canceled { //(Optional) TODO: Fetch the most recent message and send it. //TODO: raise the New Message recieved event here messagesRecieved = false; } } catch (OperationCanceledException) { break; } } while (!cancel.IsCancellationRequested); inbox.CountChanged -= OnCountChanged; await imapClient.DisconnectAsync(true); }
Send a notification On NewMessagesArrived
You are a few steps away from the end!
Updated instructions 10-05
-
Create a private event handler in the
Inbox.xaml.cscalledOnNewMessageRecieved(object sender, EventArgs a) -
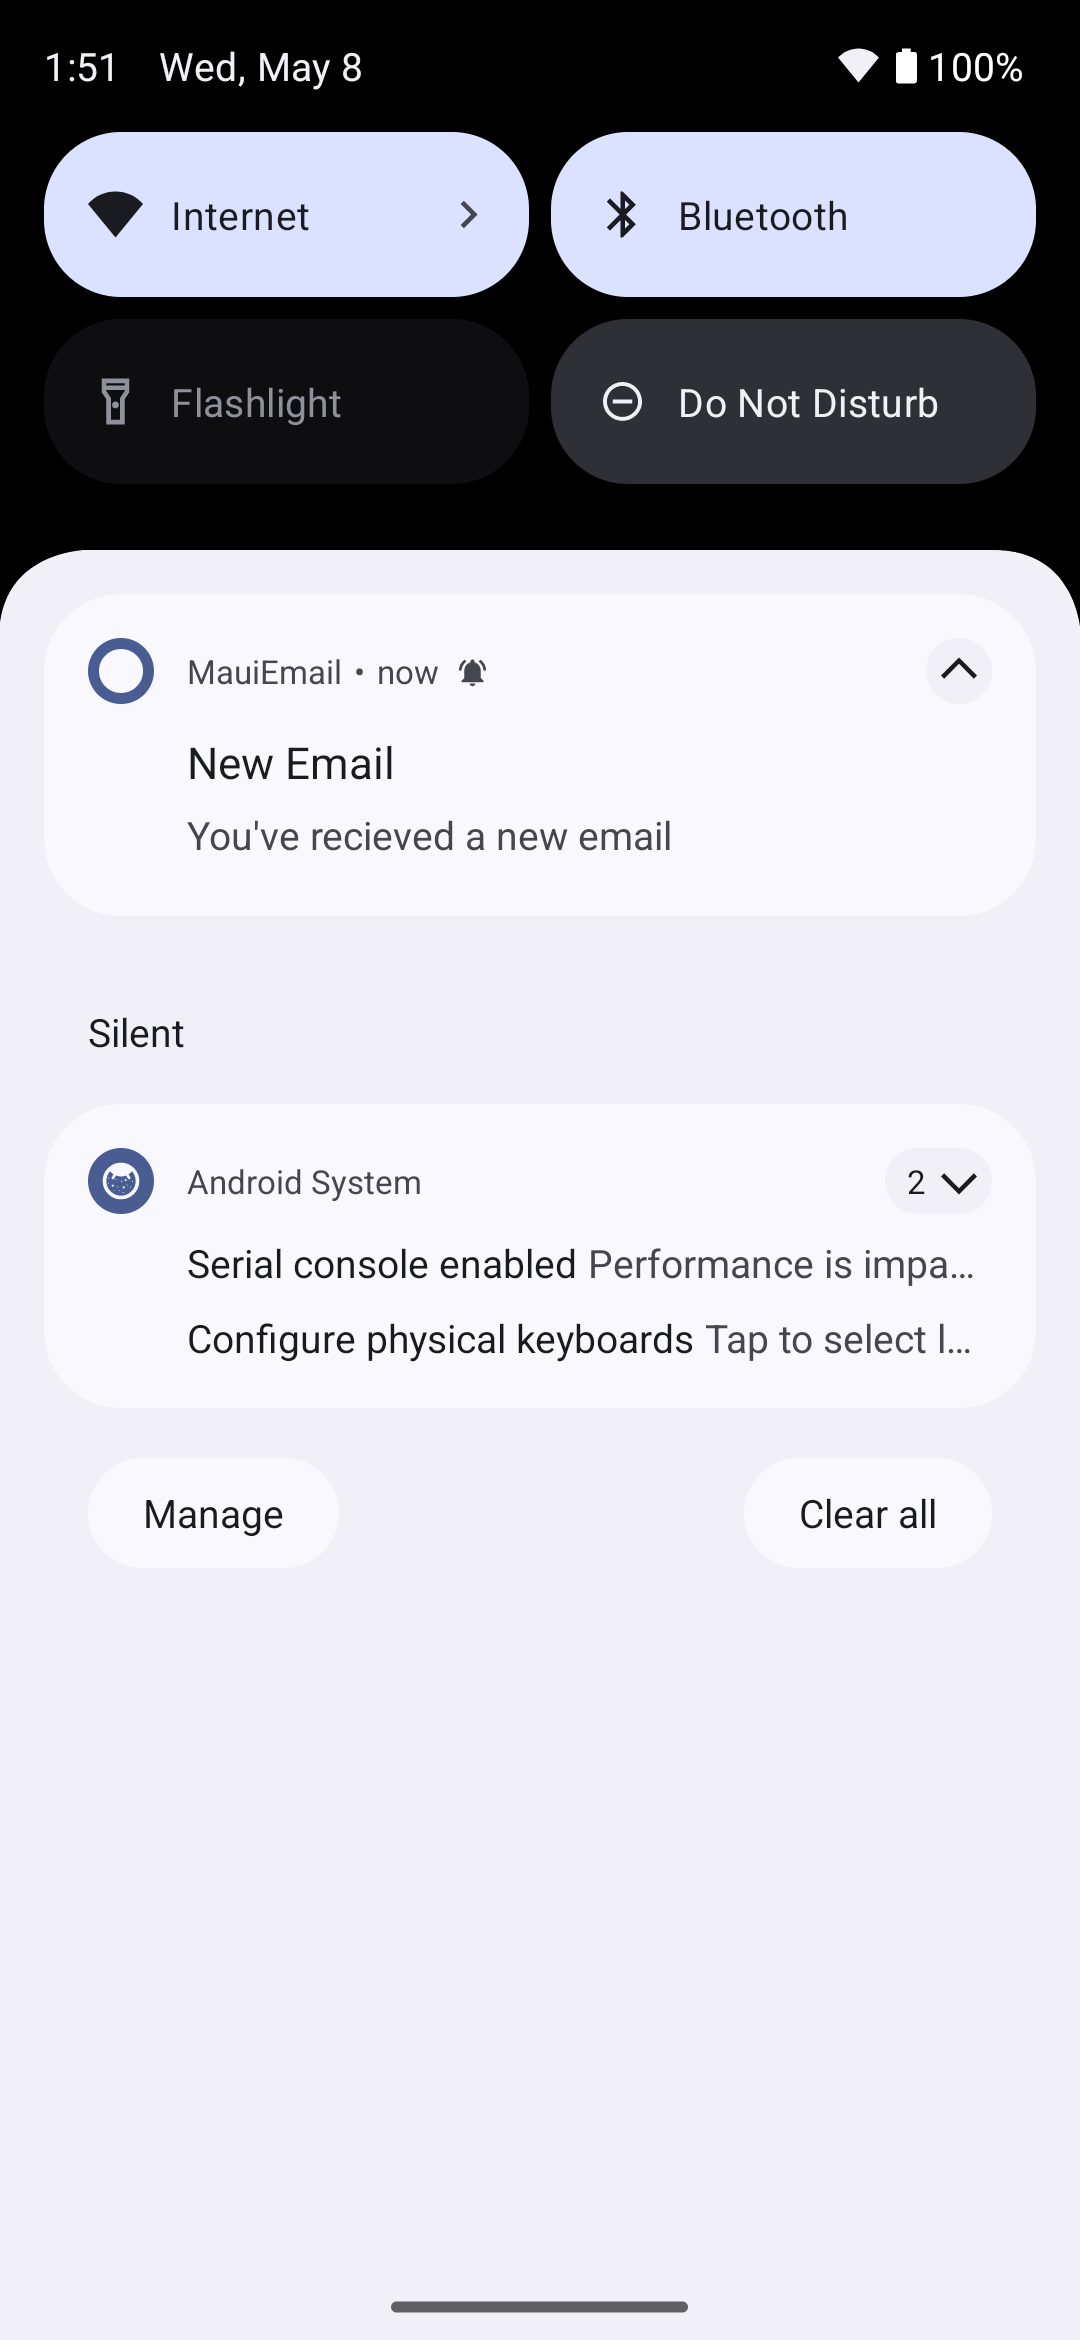
This
asynchandler should send a notification with theTitle: “New Email” andDescription: “You received 1 new message”. Don’t set any delays. -
In the constructor of the
InboxView, subscribe to theApp.MailService.NewMessageRecievedevent. -
Add one last line int he constructor:
App.MailService.MonitorInbox();without awaiting it. -
To test the app, go to the home page of the emulator (keep the app running in the background)
-
Send yourself a few emails and wait for a few seconds
-
You should see notifications appearing in the status bar:
Optional improvement:
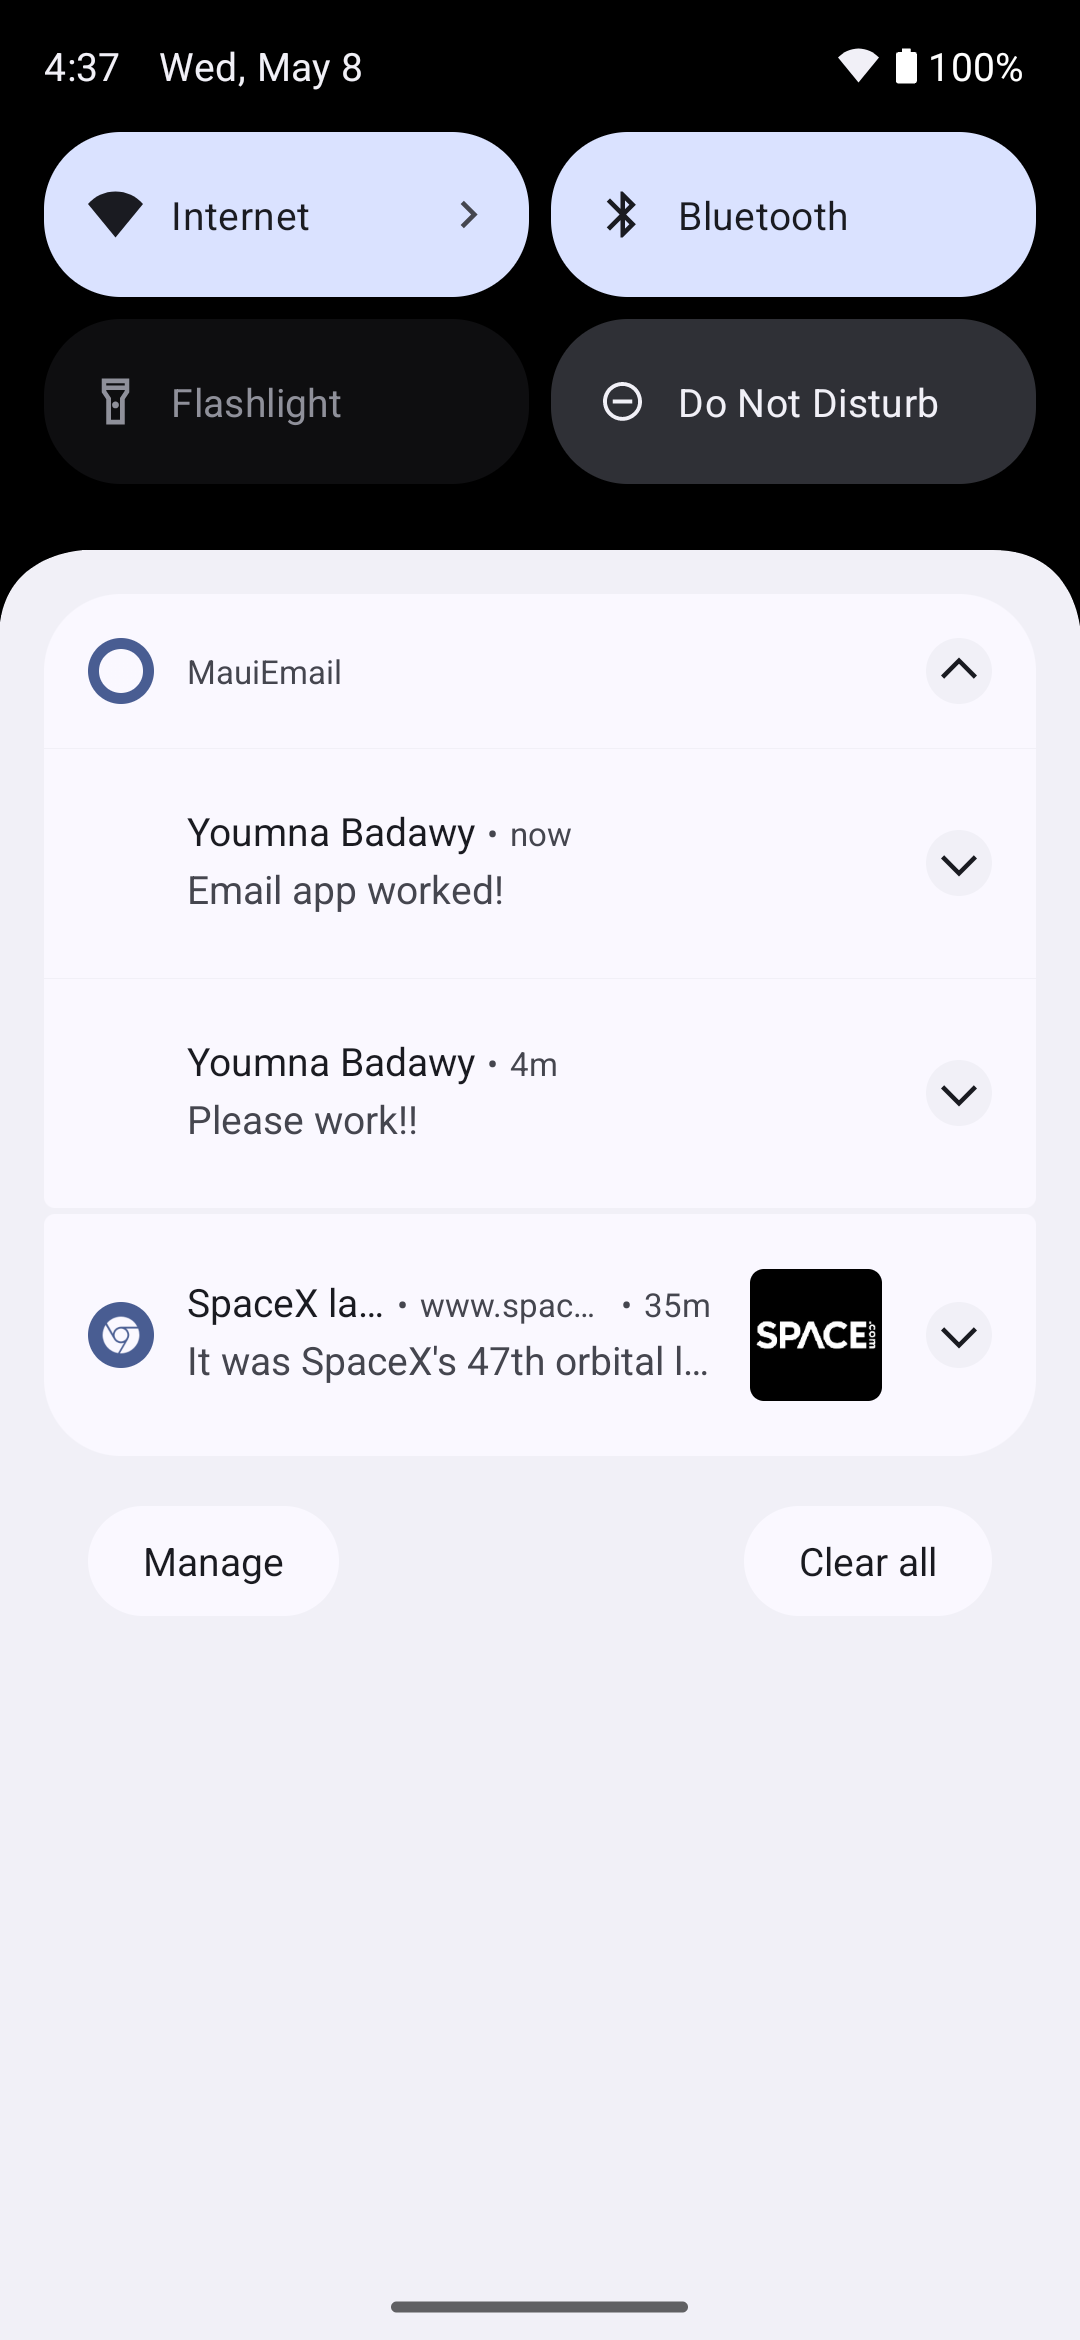
-
Fetch the emails that have not been fetched before and display a specific notification as such:
Bonus (+1%)
Implement any of the following improvements:
- Update the
ObservableCollection<Email>of emails when a new message arrives and make sure they are sorted by date. Note: There are many ways of doing this. - Add a button within the notification that brings you to the read page
-
Add an email icon for the notification in the status bar.
- Mark a message as
ReadandFavoriteusing theImapClient - Delete a message using the
ImapClient - Archive a message using the
ImapClient - Replace the current search bar search method with a query offered by
ImapClient.SearchAsync()
Note:
- The
ImapClientwill be busy waiting for incoming email and if you try to use it to open, mark or move emails to other folder it will most likely throw an exception.- This is caused by two separate threads trying to access the same resource.
- I haven’t actually tested this, this is why it’s a bonus :)